To submit a Banner/WebFocus/Xtender access request, please follow the steps below to create a ticket for access. Once the request is submitted and approved by your supervisor and the data owners, you will then have the access needed to perform your necessary job functions. These steps are in replacement of the old PDF form that is no longer used. If you need further assistance, please contact [email protected] for more help.
- Go to the IT Service Portal
- Sign into the portal with your Ferris email address (shortname email) and password
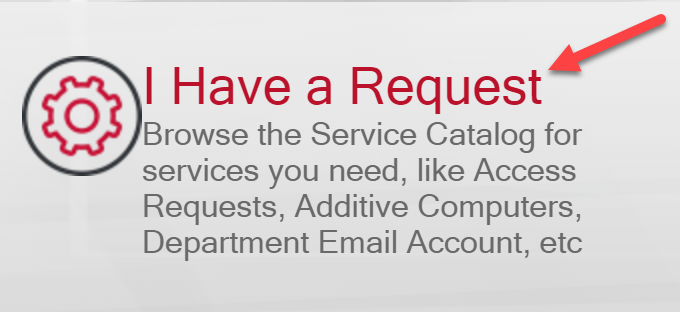
- Click on the I Have a Request link
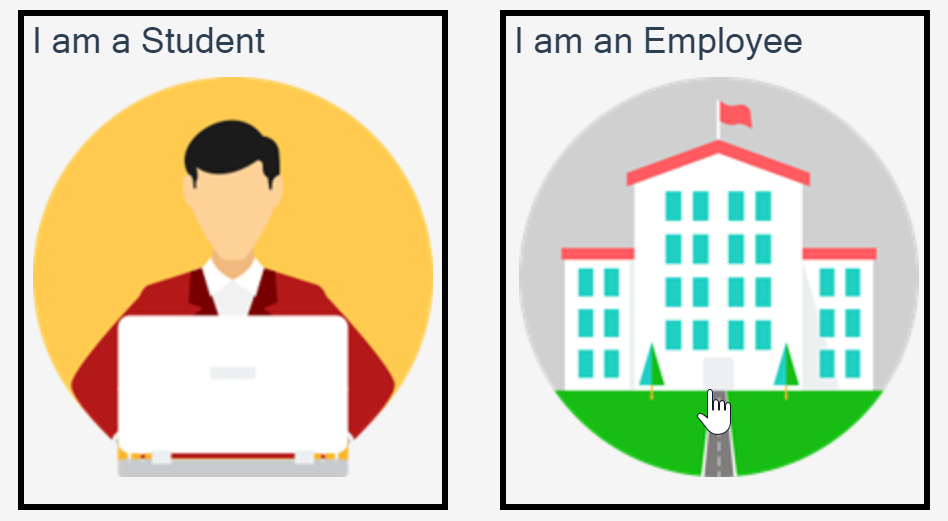
- Select whether you are a student or an employee
- Click on the Service titled Accounts & Access Assistance

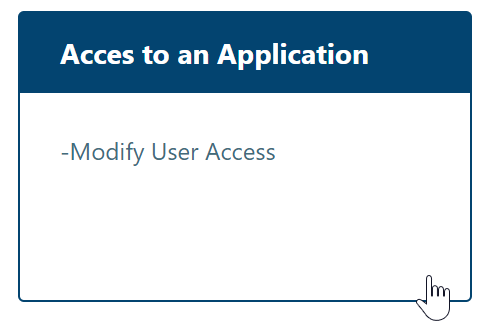
- Click on Subcategory titled Access to an Application
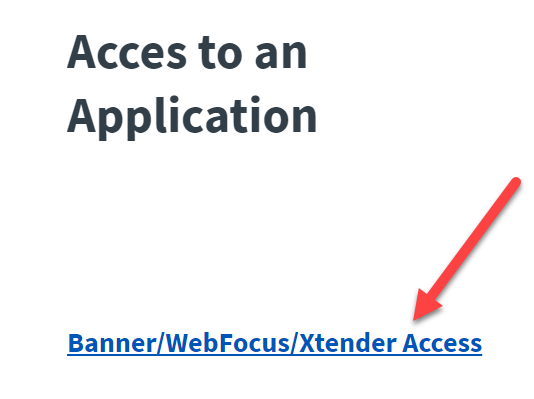
- Click on the Banner/WebFocus/Xtender link to open the request form
- Enter a detailed description regarding the access you are requesting in the description
box

- In the section below, use the checkboxes to indicate the request options you require.
You do not have select all options.

- Enter the employee name needing the access or your name if you are filling out for yourself. You can also enter a username for faster searching
- Select the Employee Type from the drop down (Affiliate, Staff, Student, or Other)

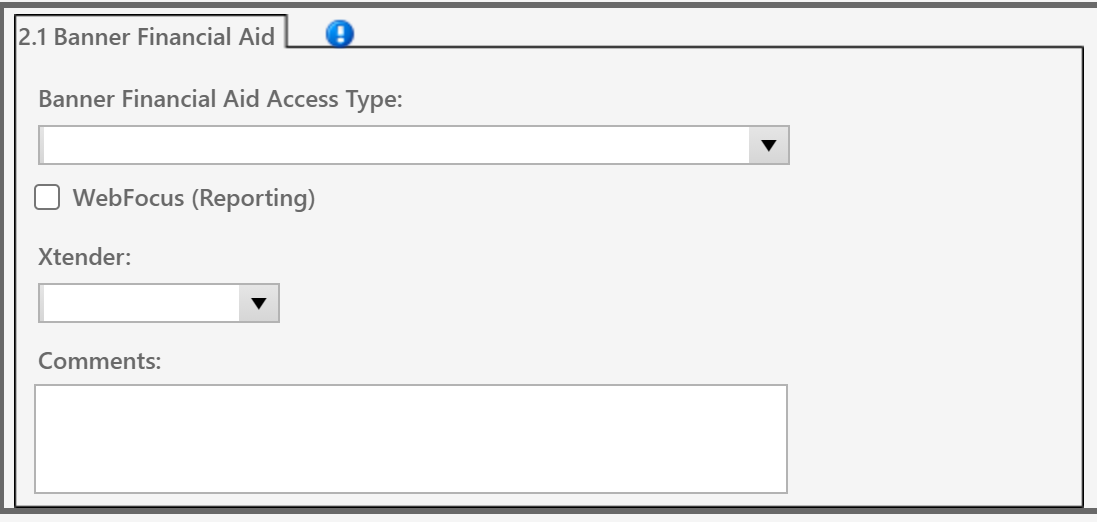
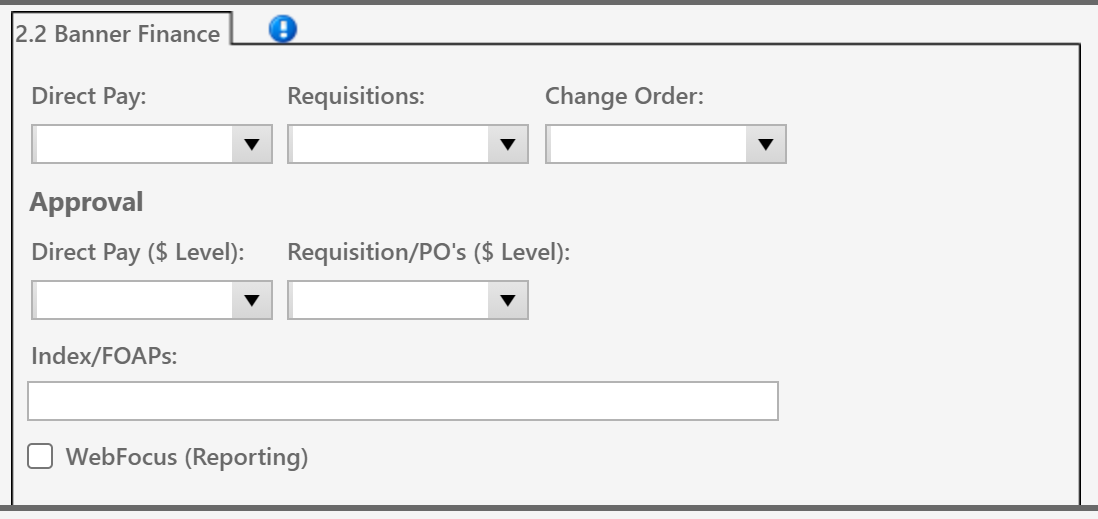
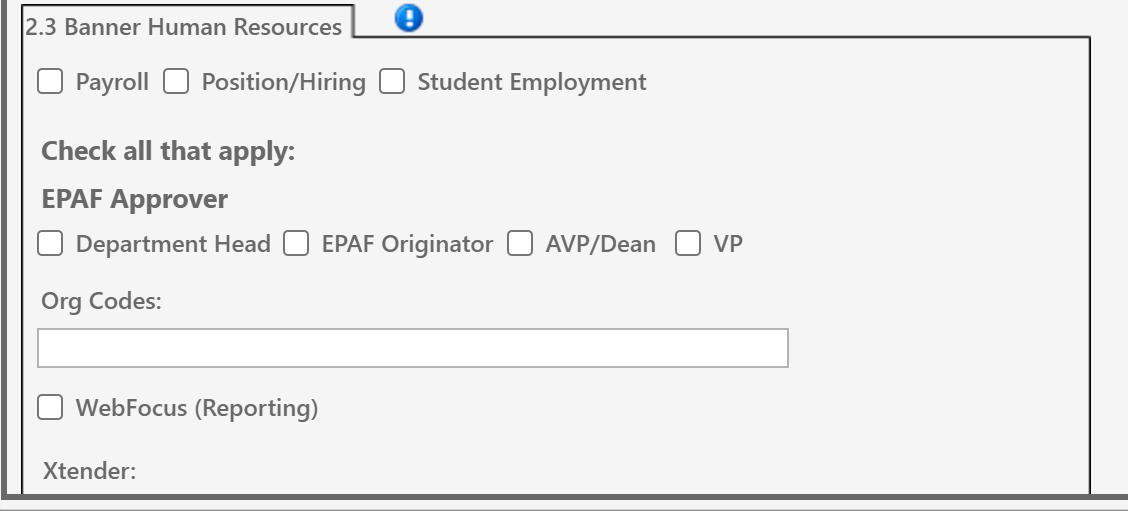
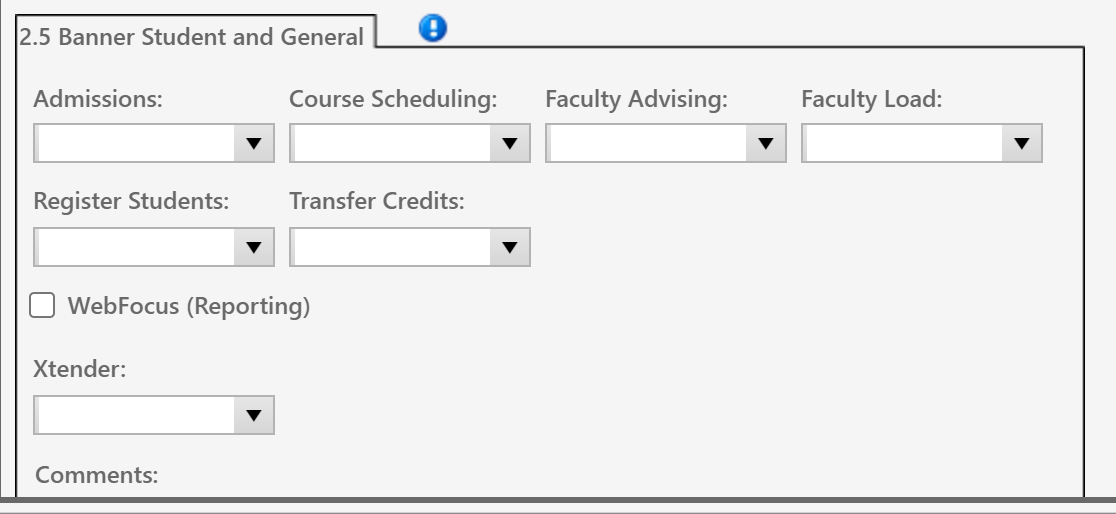
- For each section below, you will need to select an option from each of the drop downs
to allow you to successfully submit the request form. Even if a particular item is
not needed in that section, you still need to select Not Required from the drop down.
Select all necessary drop downs, check boxes, and comments as needed in each of the
desired groups.

- After selecting all necessary information in the groups, you must select a supervisor
to approve the request

- Click the "Click to Agree" button to agree to the terms of the request form and click the necessary radio button to agree or disagree on the pop up that appears. Once you click agree, it will name stamp and date/time stamp the request to show that you agree to the request.
- Click the Submit button towards the top to submit the request
- The request will then be sent to the selected supervisor for initial approval. Once approved by the supervisor, the necessary data owners will be sent an additional approval. The data owners will then supply the necessary information to the Data Security team in IT to grant the necessary access and communicate with you when completed.

