

How to Create a Bulldog News Post
Follow the steps below to create a News Post for the Bulldog News communication to students. The Bulldog News will be sent to students via email that will contain announcements from a variety of departments, organizations, and other entities on campus.
1. Log in and go to the Bulldog News SharePoint
Log into the Office 365 SharePoint site for the Bulldog News using your Ferris email credentials.
2. Click +Add Button
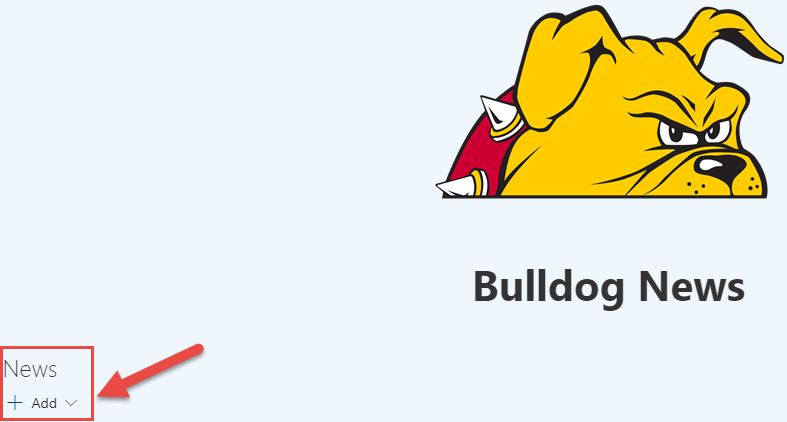
Under the Bulldog image and the Bulldog News heading, you will see the News title. Click the + Add button to create a new News Post.
3. Choose a Template
Choose a template. You can start with a blank template or choose a different layout for the title and background image area.
4. Name Your Post
This will be the name of the posting that shows in the email digest to the students. Ensure that the name is appropriate to the post and is easily understood.
5. Choose a Layout
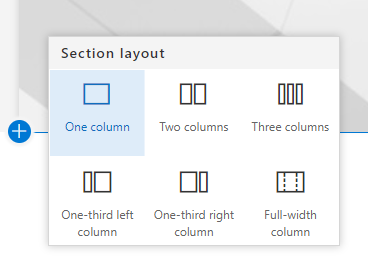
Click the plus icon directly under the title area box to add a new section to the post. The section options allow you to specify the layout of the content of your News Post.
6. Add Content
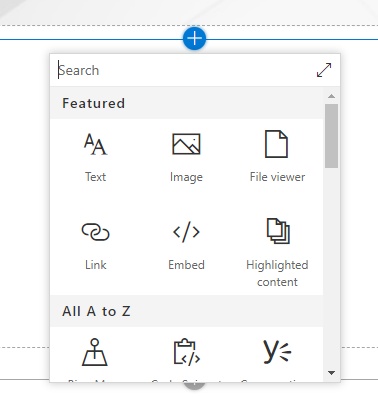
Now click the plus icon in the middle of the new section you just created to add your
desired web parts to the News Post. There are many web parts to choose from. The most
popular selections will be Text and Image.
7. Add Text
To add text, select the Text web part to type in your content for your News Post. You can then edit the text with the many different text options available to enhance your News Post.

8. Add Images
Select the Image web part to include an image with your News Post. You can select images from the internet, from your computer, or OneDrive to include in your News Post. You can adjust the images with the tools provided within SharePoint as needed.
If you include an image, it is highly recommended that you include alternative text for the image to help individuals with screen readers understand the content of the picture. Simply click on the pencil icon to edit the image web part to change the alternative text on the right side of the screen.
9. Add More, But Keep it Concise
You can add as many web parts as needed to convey your News Post to the students. It is recommended that you keep your messages short and direct, but also include images/context that is attractive to a reader.
10. Turn Off Comments
Once you’ve finished creating your News Post, scroll down to the bottom and turn off the Comments option for your News Post. The Bulldog News owners will not be monitoring comments.

11. Submit for Approval
Now click the Submit for approval button at the top of the New Post to send on for approval.

12. Add a Note
On the next window, provide a Message about the News Post you are submitting and click Submit.

13. Approval Process
Your news post will now be sent to the Bulldog News owner for approval. Once approved, your News Post will be included in the next email communication to students. Until it is approved, it will not be shown on the Bulldog News site. You will receive an email if your News Post is either Approved or Denied.